
How to Apply Gold Leaf to Wood, Canvas and More
A step-by-step guide to applying gold leaf, with photos of every stage from bare frame to finished piece, plus the types of leaf and size, how to gild wood and canvas, sealing and troubleshooting.
By Magda Callery, interior designer and florist
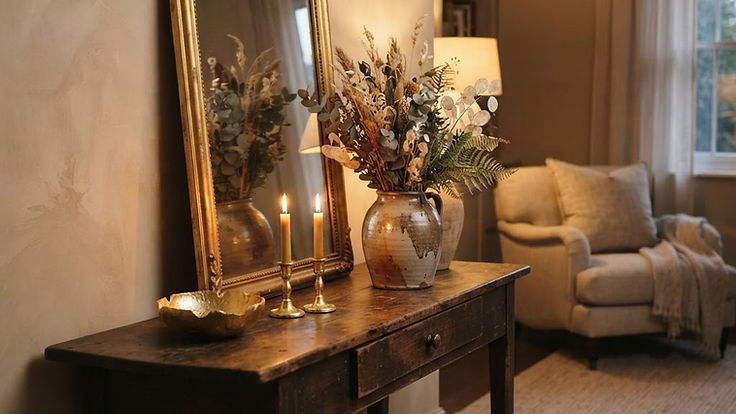
Gold leaf has a glow that no gold paint can match. A few sheets can turn a junk shop frame into an heirloom, add a shimmer to a painting or give a plain wooden bowl a touch of luxury. It looks intimidating, but with the right size (the gilder's glue), a little patience and a draught-free room, applying gold leaf is a very achievable project, even for complete beginners.
In this guide I'll explain the different types of gold leaf, what you need, how to apply gold leaf step by step with photos of each stage, from the bare frame to the finished piece, and how to gild wood, canvas and other surfaces. I'll also cover sealing, troubleshooting and a few of my favourite ways to use gold leaf in interiors.
How to Apply Gold Leaf: Quick Steps
- Prepare the surface so it's smooth, clean, dry and sealed.
- Paint a base coat, traditionally a warm red, ochre or black, and let it dry.
- Brush on a thin, even coat of gilding size and wait until it turns tacky.
- Lay the gold leaf onto the tacky size and press it down gently with a soft brush.
- Patch any gaps with small pieces of leaf.
- Brush away the loose flakes, called skewings, with a soft mop brush.
- Seal the gold if you've used imitation leaf, or if the piece will be handled a lot.
Types of Gold Leaf
| Type | What it is | Best for | Good to know |
|---|---|---|---|
| Genuine gold leaf | Real gold, usually 22 to 24 carat, beaten into sheets around a ten thousandth of a millimetre thick | Heirloom pieces, frames, signs, fine art | Expensive, very delicate, doesn't tarnish |
| Imitation gold leaf (Dutch metal or composition leaf) | A thin alloy of copper and zinc | Crafts, furniture, large areas, beginners | Thicker and easier to handle, but tarnishes unless sealed |
| Loose leaf | Sheets laid loosely between tissue in a book | Carved and curved surfaces | Needs a gilder's tip and knife to handle |
| Transfer leaf (patent leaf) | Leaf lightly pressed onto a tissue backing | Flat surfaces, outdoor work, beginners | Easy to apply straight from the backing |
| Gold flakes | Small fragments of leaf | Canvas, resin, small accents | Ideal for a broken, textured look |
Which should beginners use? Start with imitation transfer leaf. It's affordable, forgiving and easy to handle. Once you're confident, genuine gold leaf gives a warmer, richer glow and never tarnishes.
Oil Gilding vs Water Gilding
There are two traditional ways to gild:
- Oil gilding (size gilding) uses a sticky adhesive called size. It's the method used in most home projects, and the one in this guide.
- Water gilding is the traditional technique for the finest frames and furniture. The wood is coated in layers of gesso, a chalk and glue ground, then bole, a fine coloured clay. The leaf is laid using water and then polished.
The Royal Collection Trust's notes on gilding conservation explain the difference neatly: with water gilding, "By applying an agate stone, the gold leaf is burnished, or brightly polished", while "Oil gilding cannot be burnished" but is "much more durable." For a first project, oil or water-based size gilding is far quicker and more forgiving.
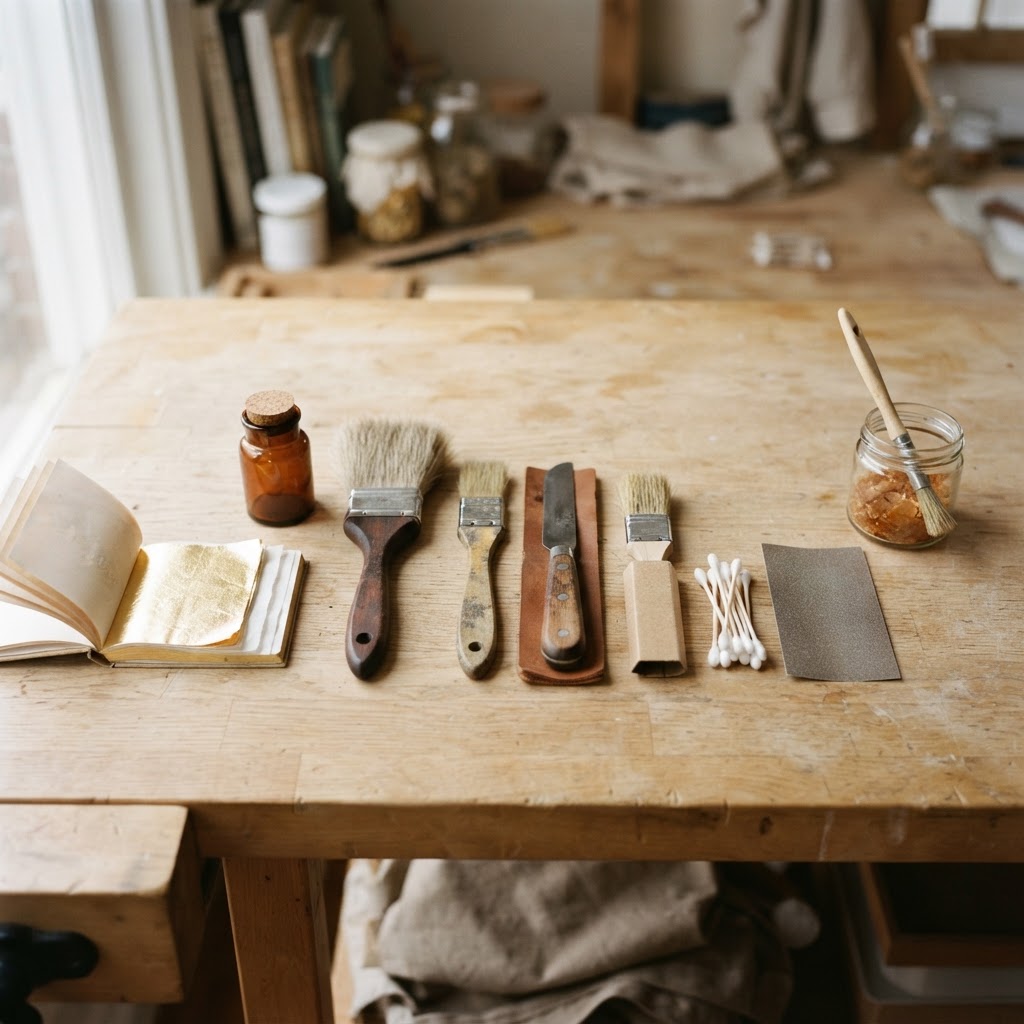
What You Need
- Gold leaf, genuine or imitation, loose or transfer
- Gilding size: water-based or oil-based
- A base coat paint in red, terracotta, ochre or black (or a shellac or primer for raw surfaces)
- Soft brushes: a flat synthetic brush for the size and a soft mop or squirrel brush for pressing and cleaning
- A gilder's tip, knife and cushion, if you're using loose leaf
- Cotton wool or cotton buds for pressing and burnishing
- Fine sandpaper, a tack cloth and a damp cloth
- Sealer: shellac or a clear varnish compatible with your size
- Talc or a little petroleum jelly on the back of your hand, to help pick up loose leaf with a gilder's tip
Water-based or oil-based size?
| Water-based size | Oil-based size | |
|---|---|---|
| Ready to gild | Usually 15 to 30 minutes, once it turns clear and tacky | Quick versions in about 1 to 3 hours; slow versions after around 12 hours |
| Working time | Many hours, sometimes more than a day | A few hours once tacky |
| Finish | Good | Smoother and brighter, especially slow oil size |
| Clean up | Water | White spirit |
| Best for | Beginners, crafts, canvas, indoor pieces | Fine finishes, signs, outdoor work |
As an example, SeppLeaf's water-based size data sheet says "Once the size is no longer wet (in about 20-30 minutes) you may proceed", and that once dry it "will allow for over 36 hours of gilding time in a dust-free environment." Always follow the instructions for your own product.
How to Apply Gold Leaf Step by Step
I'll use a carved wooden picture frame as the example, but the same method works for furniture, mirrors, bowls and most decorative objects.
Step 1: Prepare the surface
Gold leaf is so thin that it shows every bump, scratch and speck of dust beneath it, so preparation matters more than anything else.
- Sand the surface smooth with fine sandpaper, working into carved details carefully.
- Clean off dust with a tack cloth or a slightly damp cloth, and remove any wax or grease.
- Seal raw or porous surfaces such as bare wood, MDF or plaster with shellac or a primer, so they don't soak up the size.
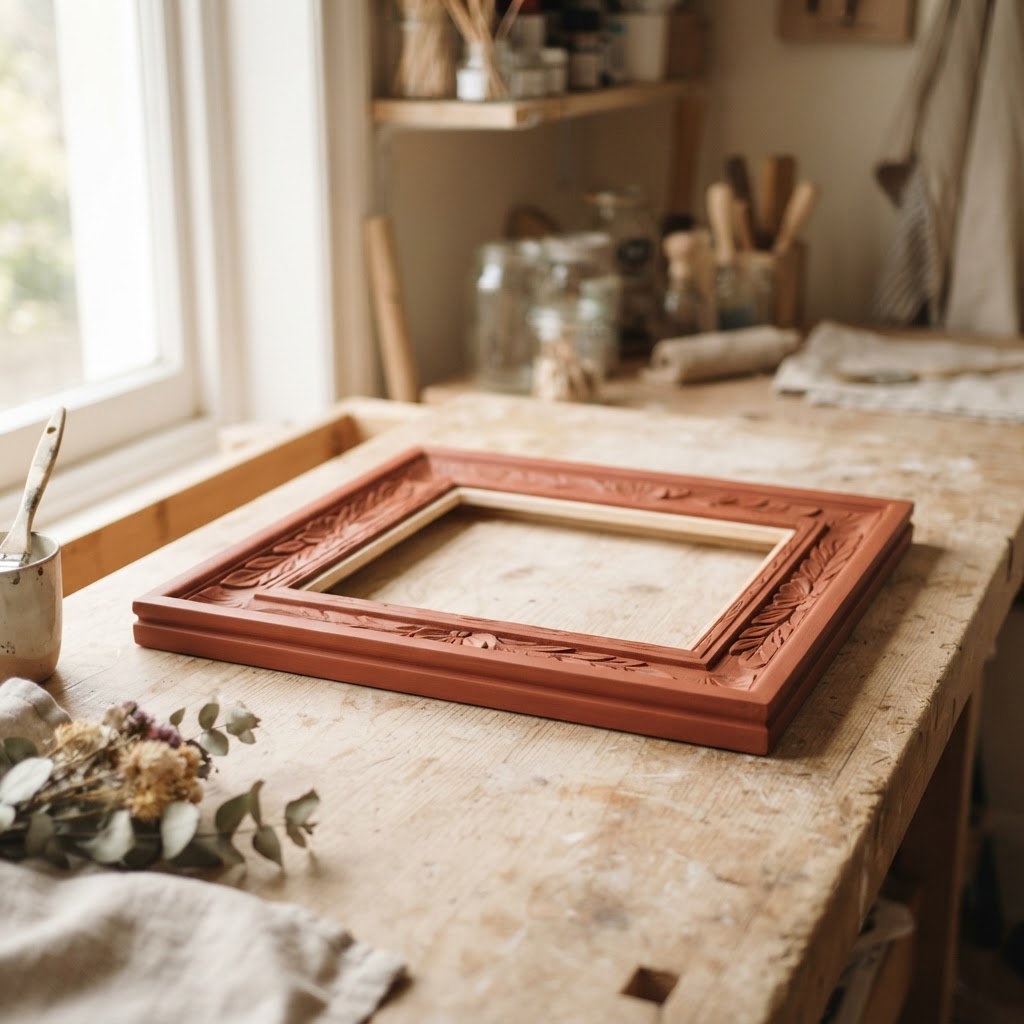
Step 2: Paint a base coat
Traditionally, gold was laid over a red clay called bole, and the warm colour beneath gives gold leaf its depth. A base coat also hides any tiny gaps in the leaf.
- Red or terracotta gives the classic, warm antique look.
- Yellow ochre makes gaps less noticeable and gives a brighter gold.
- Black or deep green gives a dramatic, modern contrast when the leaf is distressed.
Let the base coat dry completely, then give it a very light sand and wipe.
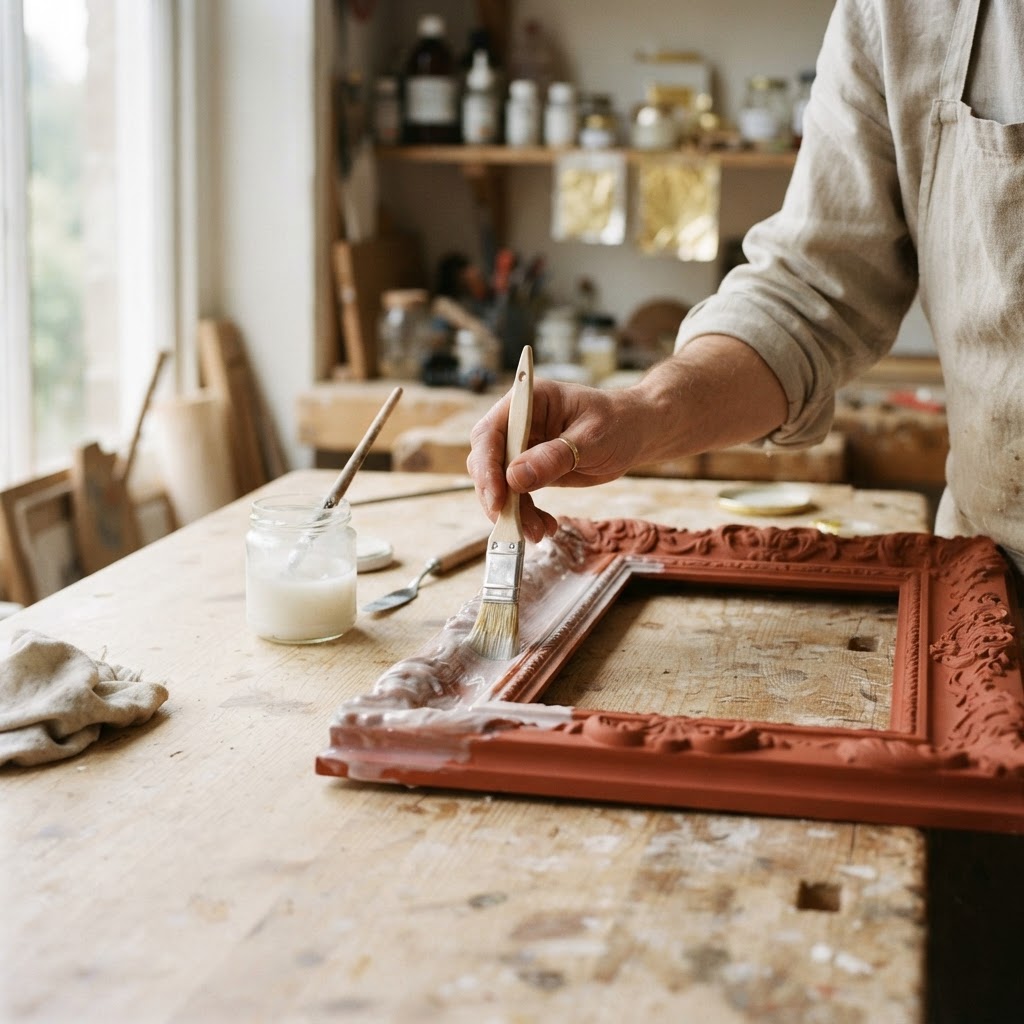
Step 3: Apply the size
Brush on a thin, even coat of size with a soft, flat brush, working it into the carving. Thin is the key: thick size stays wet, runs into puddles and shows brush marks through the gold. Check for drips and bubbles, and only size the area you can gild within the working time.
Then wait. Most water-based sizes go on milky white and turn clear when they're ready. The size should feel tacky, like the sticky side of tape, but shouldn't come away on your knuckle. Touch it lightly with a clean knuckle, rather than a fingertip, to test.
Step 4: Lay the gold leaf
Close windows and turn off fans first: gold leaf is so light that a breath can blow it away.
- Transfer leaf: hold the sheet by its tissue backing, lay it gold side down onto the size, rub the back gently with your finger or a soft brush, then peel the tissue away.
- Loose leaf: tip a sheet onto a gilder's cushion, cut it to size with a gilder's knife if needed, then pick it up with a gilder's tip. A tiny amount of petroleum jelly rubbed on the back of your hand, then brushed across the tip, helps the leaf cling to it.
- Overlap each sheet slightly so there are no gaps.
- Avoid touching genuine gold leaf with your fingers, as it sticks instantly and tears. Imitation leaf is thicker and can be handled with clean, dry hands.
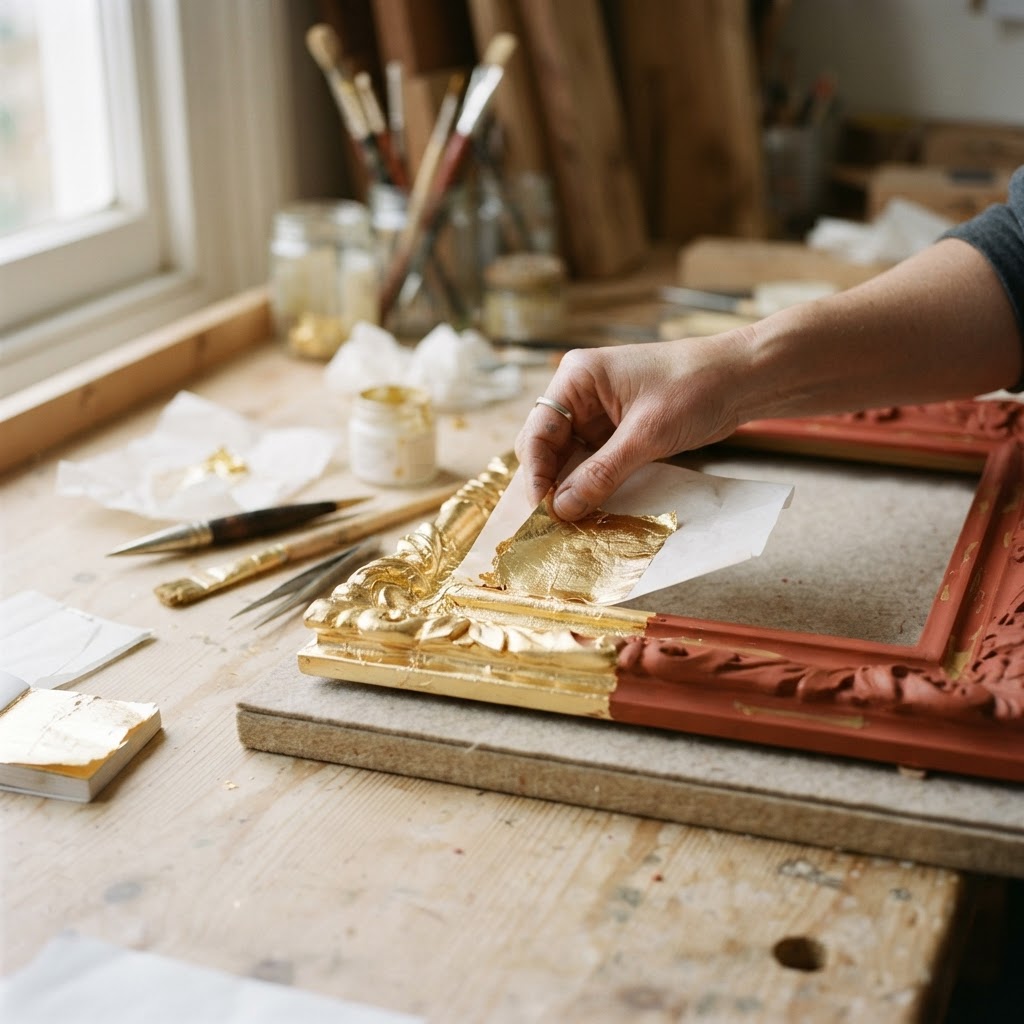
Step 5: Press it down and patch the gaps
Pat the leaf down gently with a soft mop brush or a ball of cotton wool, pushing it into carving and corners. Small gaps, which gilders call holidays, can be filled with scraps of leaf while the size is still tacky. Don't worry about wrinkles at this stage; most of them disappear when you brush off the excess.
Step 6: Brush away the excess
Once the size has had time to grip, usually after an hour or so for water-based size, or as your product advises, gently sweep the surface with a soft brush to remove the loose flakes, called skewings. Work in one direction, then in small circles. Collect the skewings on a sheet of paper, as they're perfect for patching later.
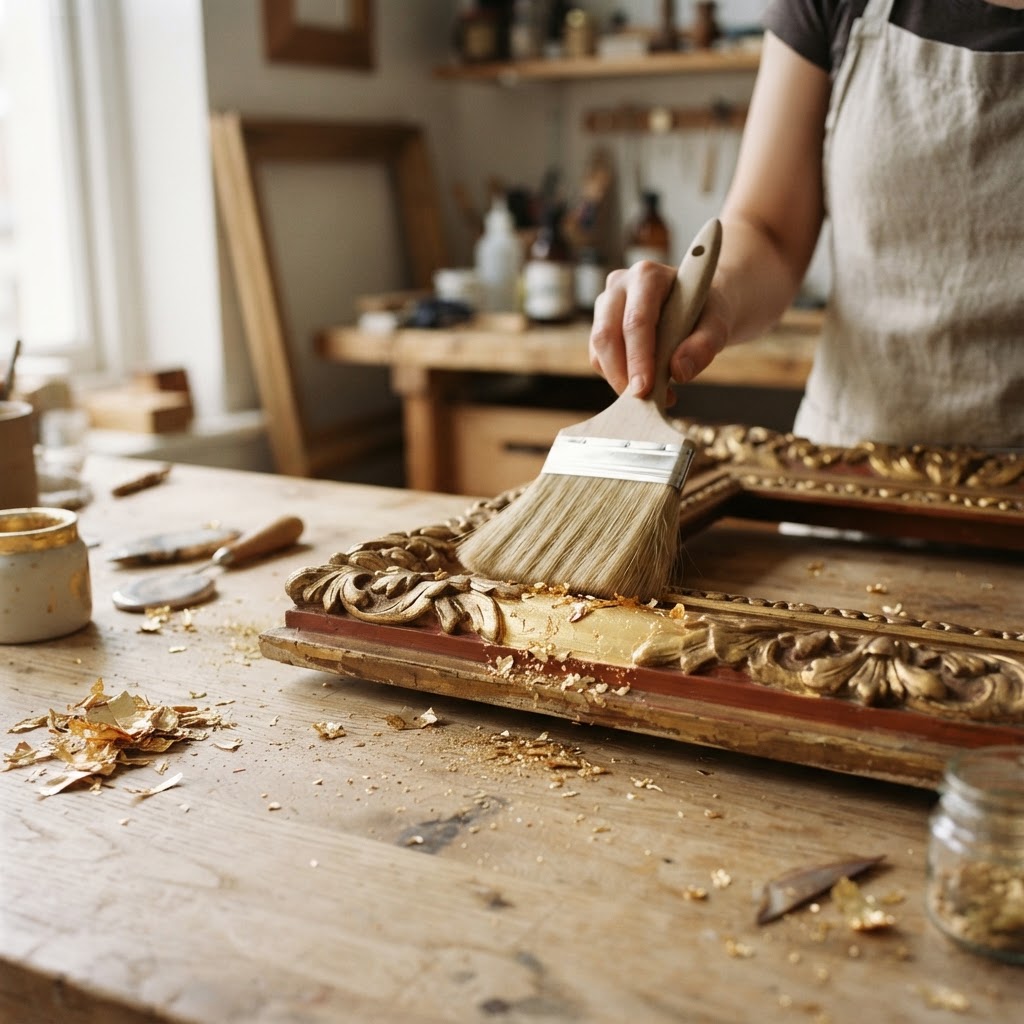
Step 7: Burnish and distress (optional)
Rub the surface lightly with clean cotton wool to bring up the shine. Size-gilded leaf won't take a mirror-bright polish like traditional water gilding, but it will glow beautifully. For an antique look, rub high points very gently with fine wire wool or a cotton bud so a little of the base colour shows through.
Step 8: Seal it
- Imitation leaf must be sealed, or it will tarnish over time. As SeppLeaf's guidance on sealing Dutch gold leaf puts it, "imitation metal leaf can tarnish."
- Genuine high-carat gold doesn't tarnish, so many gilders leave it unsealed on decorative pieces. Seal it if it will be handled often, cleaned or used outdoors, accepting that a sealer slightly dulls the shine.
- Let the size cure for at least 24 hours, or as the maker advises, before sealing with shellac or a compatible clear varnish.
The finished result
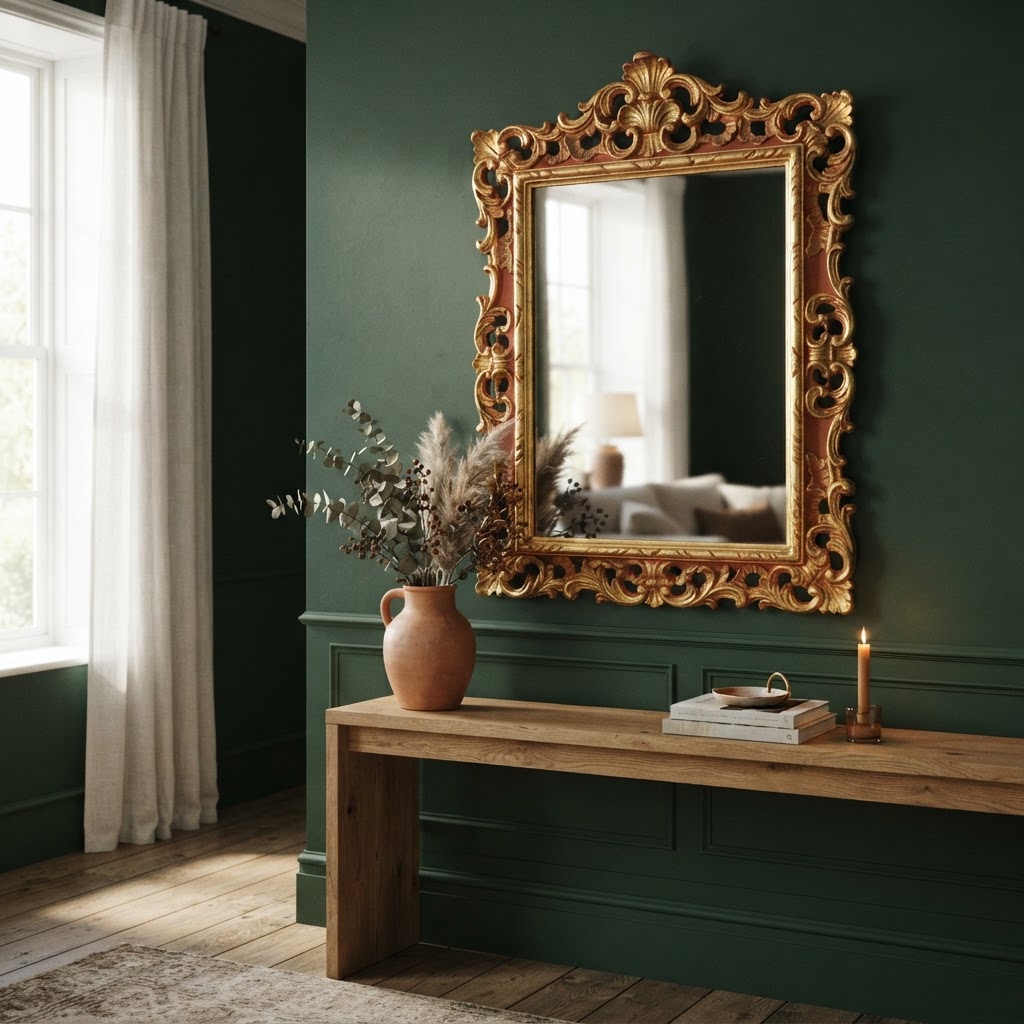
Here's how a finished piece can look: gold over a warm red base, with a touch of colour showing in the recesses to give it age and depth.
How to Apply Gold Leaf to Wood
Wood is one of the most rewarding surfaces to gild, from picture frames and furniture to bowls and boxes.
- Fill the grain. Open-grained woods such as oak show through the leaf, so fill them with a grain filler or several coats of primer, sanding between coats, for a smooth finish.
- Seal bare wood first with shellac or a primer so it doesn't absorb the size.
- Use oil-based size for carved or high-use pieces. It flows well into detail and is very durable.
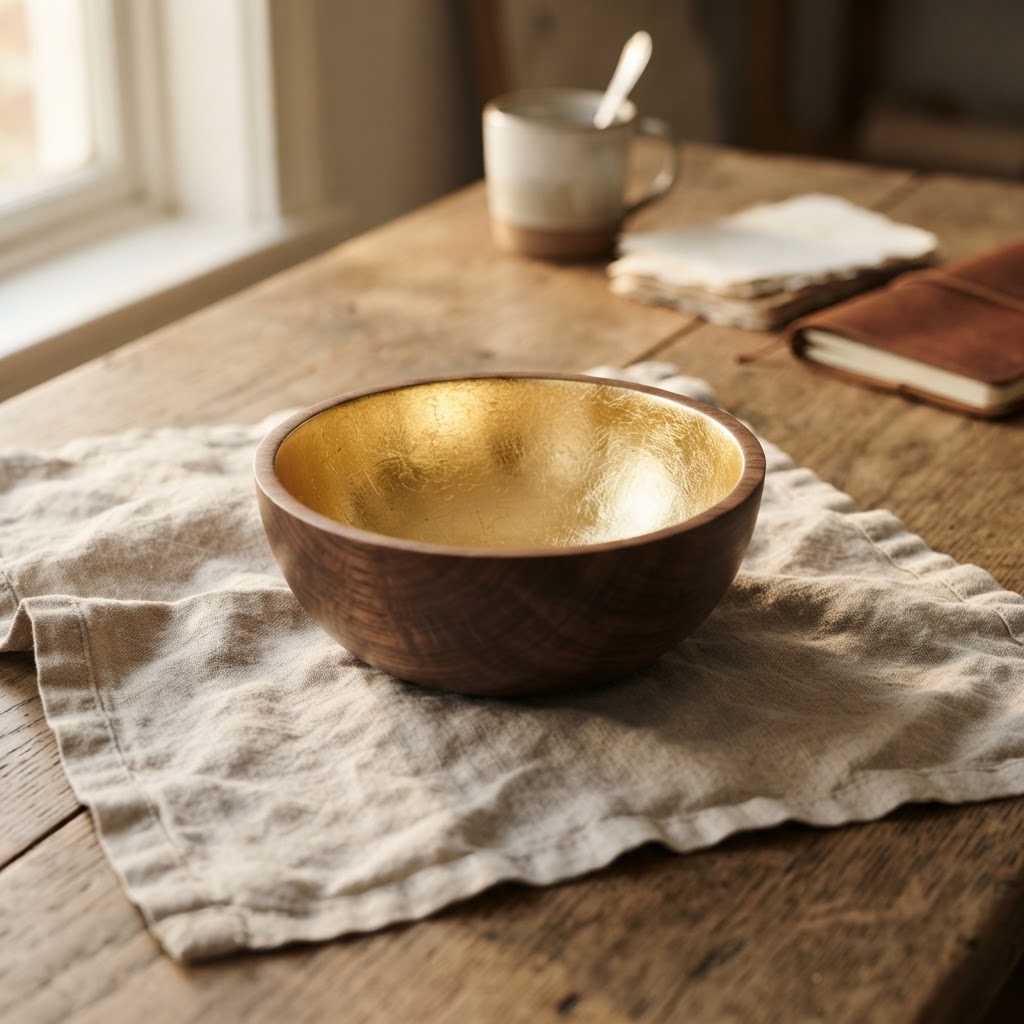
- Mix gold and natural wood. Gilding just the inside of a bowl, the edge of a tray or the legs of a stool looks modern and elegant. A pale, limed finish elsewhere, for which you can whiten wood, makes the gold look even richer.
- Keep food off gilded surfaces. Ordinary gilding size and sealers aren't food safe, so keep gilded bowls and trays for display or dry, wrapped items.
How to Apply Gold Leaf to Canvas
Gold leaf brings light and movement to a painting, especially in abstract and botanical work.
- Let the painting dry completely. Acrylics need at least a day; oils need far longer.
- Brush size only where you want gold, using a small brush for fine details. A water-based size or an acrylic gel medium works well on canvas.
- Wait until it's tacky, then press on pieces of leaf or gold flakes with a soft brush.
- Tear rather than cut the leaf for a natural, broken edge.
- Brush away the excess once it has gripped.
- Varnish the whole painting with a compatible varnish to protect the gold, especially if you've used imitation leaf.

Gold Leaf on Other Surfaces
| Surface | How to prepare | Good to know |
|---|---|---|
| Paper and card | Use a water-based size sparingly | Thin paper can cockle, so use heavier card |
| Glass | Clean with alcohol; use a size suitable for glass | Gild the back of the glass for a mirror-like finish |
| Walls and plaster | Seal porous plaster with primer first | Ideal for a niche, a ceiling rose or a small feature |
| Metal | Remove rust, clean and prime | Seal well, especially outdoors |
| Ceramics and glazed pots | Clean and lightly key the surface | Decorative use only, not for food or drink |
| Resin and plastic | Lightly sand and clean | Test the size on a hidden area first |
Troubleshooting Gold Leaf Problems
| Problem | Likely cause | How to fix it |
|---|---|---|
| Leaf won't stick | Size too dry or past its working time | Apply a fresh thin coat of size and try again |
| Leaf sticks everywhere and looks dull | Size still too wet | Wait longer before laying the leaf |
| Visible brush marks | Size applied too thickly | Apply thinner coats and brush them out well |
| Lots of gaps and cracks | Leaf not pressed down, or sheets not overlapped | Patch with skewings while the size is tacky |
| Leaf tearing | Handling genuine leaf with fingers, or a draught | Use a gilder's tip and close the windows |
| Imitation leaf turning dark or green | Unsealed leaf tarnishing | Seal imitation leaf once the size has cured |
| Bumps and specks under the gold | Dust or grit on the surface | Sand and clean carefully before sizing |
11 Ways to Use Gold Leaf at Home
As an interior designer, I love gold leaf for small, special touches rather than big, shiny surfaces. A little goes a long way.
1. Revive a junk shop frame. A gilded frame makes even a simple print look like a treasure, and it's perfect for framing a favourite piece of leftover wallpaper as art.
2. Gild a mirror. A gilded mirror above a fireplace or console is a classic in period homes, from Georgian hallways to grand Edwardian interiors. For the full vintage effect, antique the mirror glass too.
3. Highlight carved details. Pick out just the beading or carving on a frame, a fireplace or a piece of furniture.
4. Gild a bowl or tray. A gold interior on a wooden or ceramic bowl makes a beautiful decorative piece for a console or coffee table.
5. Add gold to a ceiling rose. A gilded ceiling rose catches the light of a pendant beautifully.
6. Gild furniture edges and legs. Gold-tipped table legs or a gilded edge on a dark console look modern and luxurious.
7. Create a gilded niche. Gold leaf at the back of an alcove or niche glows in lamplight.
8. Pair gold with dark walls. Gold looks richest against deep colours such as inky blue, forest green and olive green, or a dark shade like Dulux Ink Well.
9. Add gold to artwork. Gold leaf accents on a painting, a print or a mount lift the whole piece.
10. Make gilded candlesticks and vases. Simple wooden candlesticks or ceramic vases look elegant with a band of gold.
11. Echo it with gold wallpaper. If you love the look, a touch of gold wallpaper in a cloakroom or a dining room continues the theme.
Frequently Asked Questions
How do you apply gold leaf for beginners?
Prepare a smooth, sealed surface, paint a base coat, brush on a thin coat of gilding size and wait until it's tacky. Then lay imitation transfer leaf onto it, press it down with a soft brush, brush away the excess and seal it.
What glue do you use for gold leaf?
Gilding size, a special adhesive that stays tacky so the leaf can grip. Water-based size is easiest for beginners, while oil-based size gives a smoother, more durable finish.
How long do you wait before applying gold leaf to size?
Water-based size is often ready in 15 to 30 minutes, once it turns clear and tacky. Quick oil sizes take around 1 to 3 hours, and slow oil sizes around 12 hours. Always check your product's instructions.
Do you need to seal gold leaf?
Imitation gold leaf must be sealed to stop it tarnishing. Genuine high-carat gold leaf doesn't tarnish and is often left unsealed on decorative pieces, but sealing protects it on items that are handled or used outdoors.
How do you apply gold leaf to wood?
Sand the wood smooth, fill the grain if needed, seal it with shellac or primer and paint a base coat. Then apply size, lay the leaf, press it down, brush off the excess and seal.
How do you apply gold leaf to canvas?
Make sure the paint is completely dry, brush size only where you want the gold, wait until it's tacky, press on the leaf with a soft brush, brush away the excess and varnish the painting.
Is gold leaf real gold?
Genuine gold leaf is real gold, usually 22 to 24 carat. Imitation gold leaf, also called Dutch metal or composition leaf, is a copper and zinc alloy that looks similar but costs far less.
A Little Gold Goes a Long Way
Gold leaf rewards patience more than skill. Prepare the surface well, keep the size thin, wait until it's just tacky and work away from draughts, and you'll be amazed at what a few sheets can do. Start with a small frame or bowl in imitation leaf, then move on to genuine gold once you've caught the gilding bug.
For more ideas for bringing warmth and character to your home, explore the decorating section, and if you'd like help using gold and other finishes in your own scheme, you can book a one-hour online interior design consultation with me.
About the author
Magda Callery is a UK interior designer and florist with more than 15 years' experience designing homes, pubs, restaurants and bars, and her expert commentary has featured in Homes & Gardens, The Mirror and The Spruce. Explore more of the decorating articles.
Continue reading

What to Do With Leftover Wallpaper: 23 Clever Ideas
Don't throw away those spare rolls and offcuts. 23 clever ideas for leftover wallpaper, plus how much to keep for repairs, what to do with leftover paste and samples, and how to sell, donate or dispose of the rest.

Boleslawiec Polish Pottery: History, Care and Styling
Everything you need to know about Boleslawiec pottery, from its 600-year history and hand-stamped patterns to quality grades, oven and dishwasher care, and how a Polish designer styles it at home.

Edgecomb Gray Review: Benjamin Moore HC-173 Explained
An honest Edgecomb Gray review: what colour Benjamin Moore HC-173 really is, its LRV and undertones, how it looks in different light, how it compares with Revere Pewter, Agreeable Gray and Pale Oak, the best trim whites and coordinating colours.